


Recovering dining room chairs is a simple, inexpensive and quick way to update any dining room décor. Using only basic tools and about 3/4 yards of fabric per chair, this easy project can be completed by even the most inexperienced DIYer.

Supplies
Staple gun and staples
Fabric
Foam or seat cushions
Electric knife or serrated knife
Scissors
Marker
Ruler
Please read through all instructions before beginning project.
Preparation
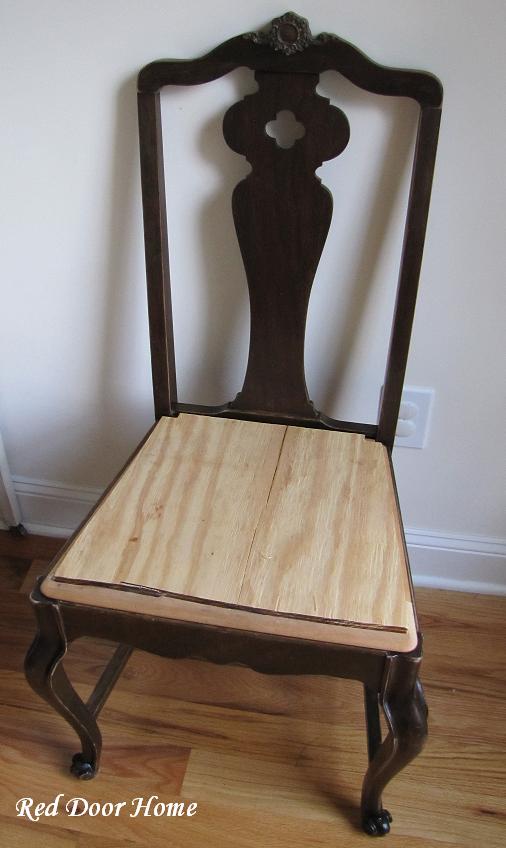
Remove fabric, staples and old padding from chair seat if necessary. (In many cases, to remove the chair seat you will need to unscrew the seat from the chair bottom.)
Gather supplies
To determine the amount of batting and fabric needed, measure the length and width of your chair seat at the widest points. Add 8 or more inches to each dimension and then multiply by the number of chairs.
NOTE: The amount of fabric needed depends on the size of the chair and the pattern of the fabric. When finished, each chair should be identical. Thus, you may need more fabric in order to center the fabric design than just the amount it takes to cover the chair.
To determine the amount of foam needed, measure the outside dimensions of the chair bottom and then multiply by the number of chairs. (I always add a few extra inches to guarantee I have enough.)
Foam
If your chair foam is in good condition and does not need to be replaced, skip to “Covering Seat with Fabric.” If you need to replace the foam, there are two choices - purchase pre-cut chair cushions or create your own cushions from foam. My chairs were not a standard size, so I purchased 1” foam.
Use the seat bottom to make a template. Place the seat bottom wrong side up on top of the foam.

Using a marker, trace around outside edge of seat bottom.

Cut foam using an electric knife or serrated knife.


Batting
Batting is used to create a smooth edge and provide additional cushioning.
Place seat bottom on top of batting and cut about 4 inches wider than the outside edge of the seat bottom. Place foam right side down in the center of the batting. Place seat bottom right side down on top of foam.

Pull center point of batting on one side to back side of seat bottom. Use the staple gun to secure. Repeat on other three sides, securing each side with one staple in center.

Working from the center out, continue pulling and securing batting with staples until you reach the corners on all four sides. Pull batting tight around the corners and staple,

Trim excess batting.

Covering Seat with Fabric
This process is pretty much identical to covering the seat bottom with batting.
In order to center the fabric design in the middle of the chair seat, place chair seat right side up on flat surface. Lay fabric over top, centering design. Carefully, flip chair seat over.

Pull center point of fabric on one side to back of seat bottom. Use the staple gun to secure. Repeat on other three sides, securing each side with one staple in center. At this point it is a good idea to turn the chair seat right side up to make sure the fabric pattern is centered and pulled evenly. If not remove staples and try again. If everything looks even, turn seat back to right side down and continue stapling as above.

Trim excess fabric.

Place chair seat on chair and attach with screws.

Enjoy your new chairs!


