


A couple of weeks ago, I scored these for $1 each at a thrift store. Two of them were brand new and still had the original tags, and the lime green one was used, but in nearly mint condition!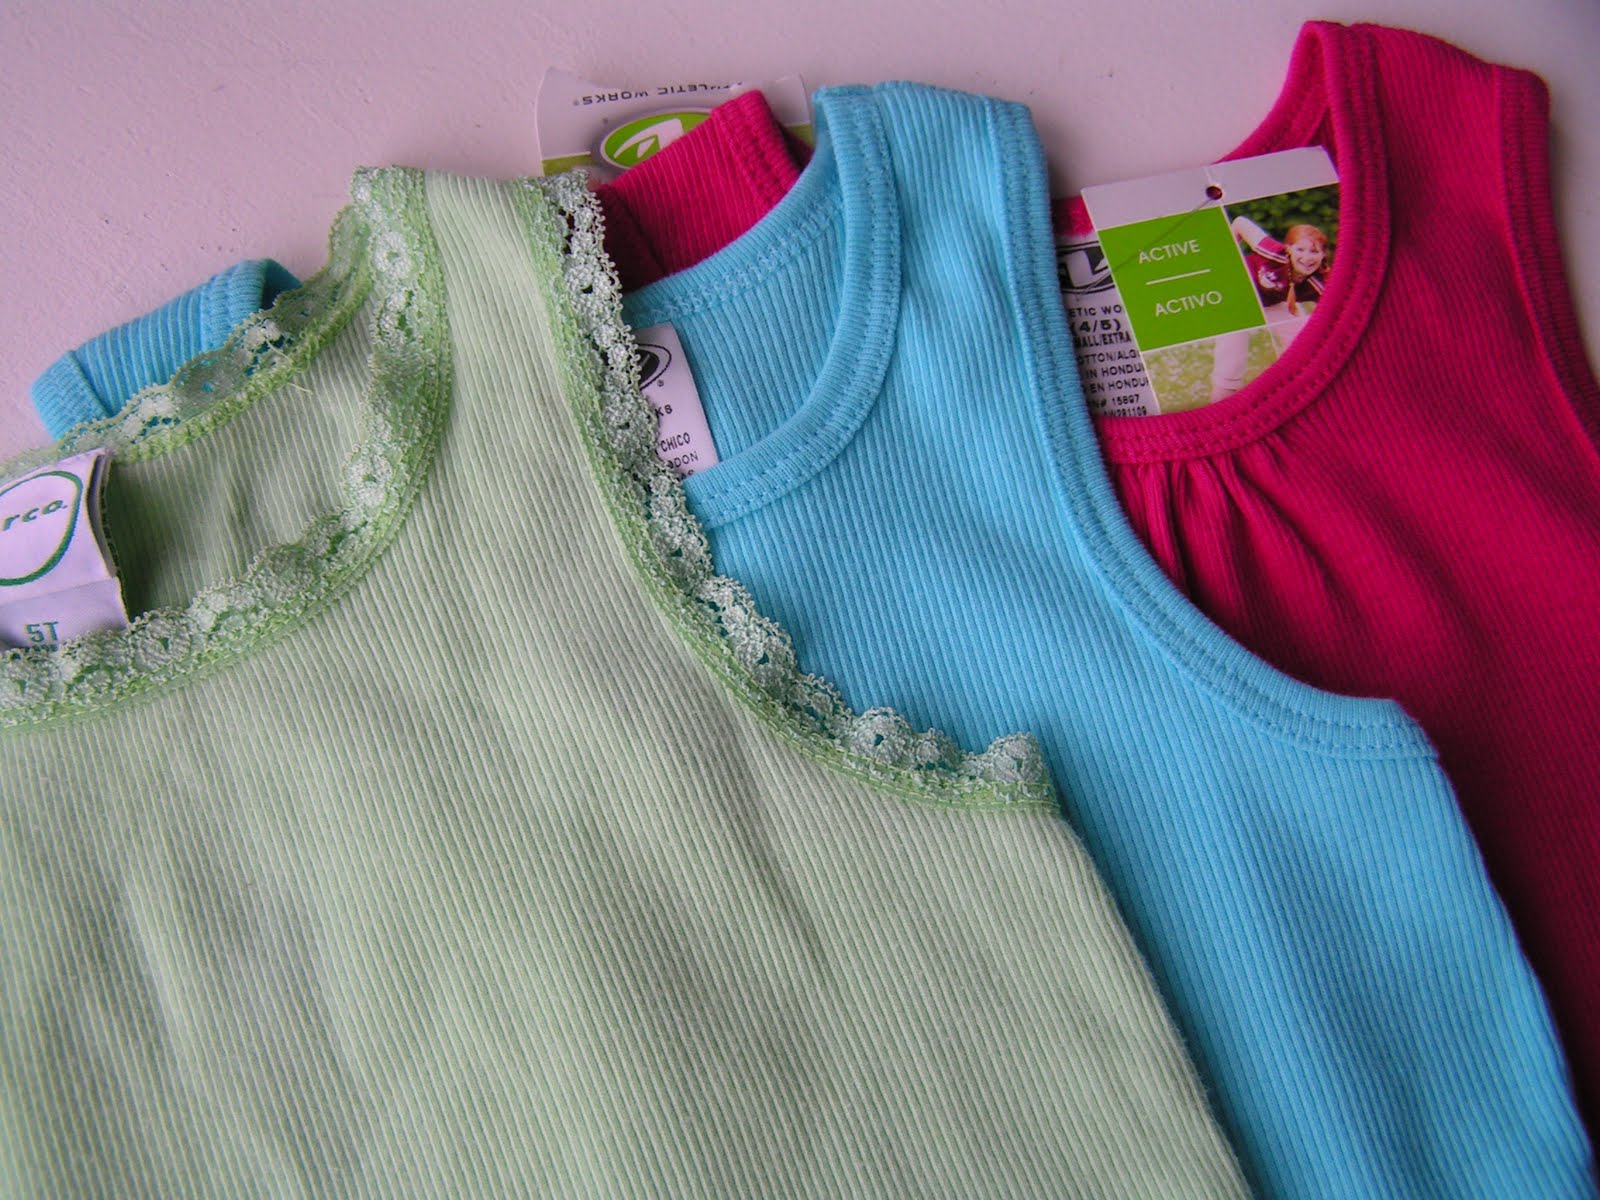
I thought that to make a tunic top using a tank top would be so easy and fast; not to mention FUN too! I will show you how I did it.
{How To}
1. Cut the tank top (I cut mine about 1 1/2" below the arm pit area). I also cut two 1 1/2" strips.
2. Cut off the seams and connect the two 1 1/2" strips together to make a long strip for the ruffle around the neck.
3. Cut two different fabrics to make the main skirt and bottom ruffles. The shirt is for 4 or 5 year olds, and I cut out 2 - 9" X 21" for the main skirt, 2 - 3" X 36" for the bottom ruffles.
Sew the sides and use a serger or zig-zag to finish the edges.
4. Put fusible interfacing on the edge of the tank top. (This will help from getting too wavy, when you sew).
5. Pin the ruffles and the skirt together. Sew all around it, then pull out the bottom thread (the bottom thread is there to stablize the gather better, so the results of the gather will be much prettier).
6. Repeat the same thing to attach the skirt to the top. For hemming, I used a narrow hem.
Attached, turned, and stitched...
7. To make the ruffles for the neck line, sew slightly off to the side from the middle. Pull one thread to gather the fabric.

8. Pin the ruffle all around the neck line. Sew it on.
9. I used the leftover fabric to make a corsarge. I think it gives a more boutique look to the tunic.
I love how it turned out!
So, I wanted to do the same with the other two and experiment with colors and patterns...
Hot pink...
Then, lime green...
I love them all, but I think I am going to keep the green one for my little girl, and put the other two in my etsy store. She loves the new top, she even strikes a pose or two for the camera. 

After taking some pictures, she was off to play at the park with her new found favorite top.
Tutorial ~Little Girl's Tunic with Tank Top~


Tutorial~Tunic Dress for a Little Girl~

I found a purplish-plum color t-shirt at the sales rack in Target the other day, it was $2. I went through my fabric stash, and picked this fabric to make a tunic dress. Well, I wanted to make a dress, but the fabric I had wasn't a whole lot. I thought she could wear this with tights or with pants.
I worked on this tutorial over that last few weeks while I worked on other projects. I thought I took more pictures to explain things better, but I didn't. If there are some areas that you have a hard time understanding, I am sorry. If you need to see how to made the ruffles, please go here, to see the instructions. That might help a little.
{You will need}
One T-shirt
Fabric(if you have 3/4 yd, you should have enough to make this)
Matching Thread(Because the t-shirt and the fabric are such contrasting colors, I had to use two diffrent color threads. If you don't want to do that, I advise you to pick a top and fabric that are somewhat similar.)
{How To}
~The Top~
1. From the fabric cut a 2 1/2" Wide X 44" Long strip. Cut it to three equal pieces and fold the strips right sides together in half and sew using 1/4" seam allowance.
2. Turn the strips inside out. Fold the strips so that the seam will come to the one side and press with an iron. Also, fold in both ends and press.
3. Using the largest setting on your sewing machine, make a ruffle. Sew the ruffle onto the middle of the T-shirt.
4. Repeat the process and add more rulles on both sides(Mine are 1 1/2" a part).
5. Cut 2 1/2" off from bottom of the T-shirt.(or more, if you would prefer a higher waist)
6. From the T-shirt strips, cut two 3/4" X 12 1/2" strips. (Save the rest if you want to make a hair accessory later).
7. Make ruffles and sew them on between the fabric ruffles.
~Skirt~
1. Cut one 5" by the wideth of the fabric strip, cut in half to make it into two pieces. (These will be the top portion of the skirt). Then, cut two pieces of 6" X 36" strips. (These will be the bottom portion of the skirt).
Do zig-zag or use a serger to finish both sides of the strips. With the right sides together, sew both sides and make a big loop.
2. Start with bottom skirt, with the largest setting, sew two lines all around. Pull both threads to gather the fabric. Spread the gather evenly for better results. Gather the fabric to fit the width of the top skirt.

3. Attach the top and the bottom skirt. Pin them together first, and make sure the side seams match up, then sew. After you have attached them, turn the fabric inside out and press the seam. Using 1/8" seam sew on the right side of the fabric.

4. Repeat the process for the top edge of the skirt, then attach it to the shirt. Since I still haven't practiced using my serger (shame on me!), I ironed 1/2" wide strips of interfacing on the wrong side of the t-shirt to prevent it from getting wavy.
~Finish~
After sewing the top and the skirt, turn the dress inside out and sew right side of the t-shirt usign 1/8" seam.
For the hem, I just did a narrow hem since I did't have that much fabric to work with. To do a narrow hem, fold the raw edge 1/4" twice then sew. It is a rather casual look, but I thought it would be ok.
I used leftover pieces and made a matching headband. It is all done, all you need to do is to let your loved one enjoy it.
That's what I did...


