Showing posts with label bathroom. Show all posts
Post Icon

Working...Bath and Bed

 Sorry for being MIA this week, we have been busy.  The week started with a trip to Memphis to check in on a very cool project and a very dear client.  That will be such a fun job to share with y'all but we are not ready for pictures yet. In the mean time though I can show you the master shower which is amazing. While the tile looks so good in person, it is the shower hardware that had me green with envy.    Steam shower every night? Yes please.
Lots of gorgeous items have been delivered to various clients these past few weeks so I thought I would share one.  Remember this nursery that I loved so much?
It was home to one of my favorite lights, a custom globe we had made just for that precious baby....and now 3 (or is it 4?) years and a new house later he is a precious little boy.....with a new custom headboard fit for a king.
 And the light made the move as well.

As we go along I am going to try to be better about taking shots along the way and sharing.  Hope you are having a great week.

  • Digg
  • Del.icio.us
  • StumbleUpon
  • Reddit
  • RSS
Post Icon

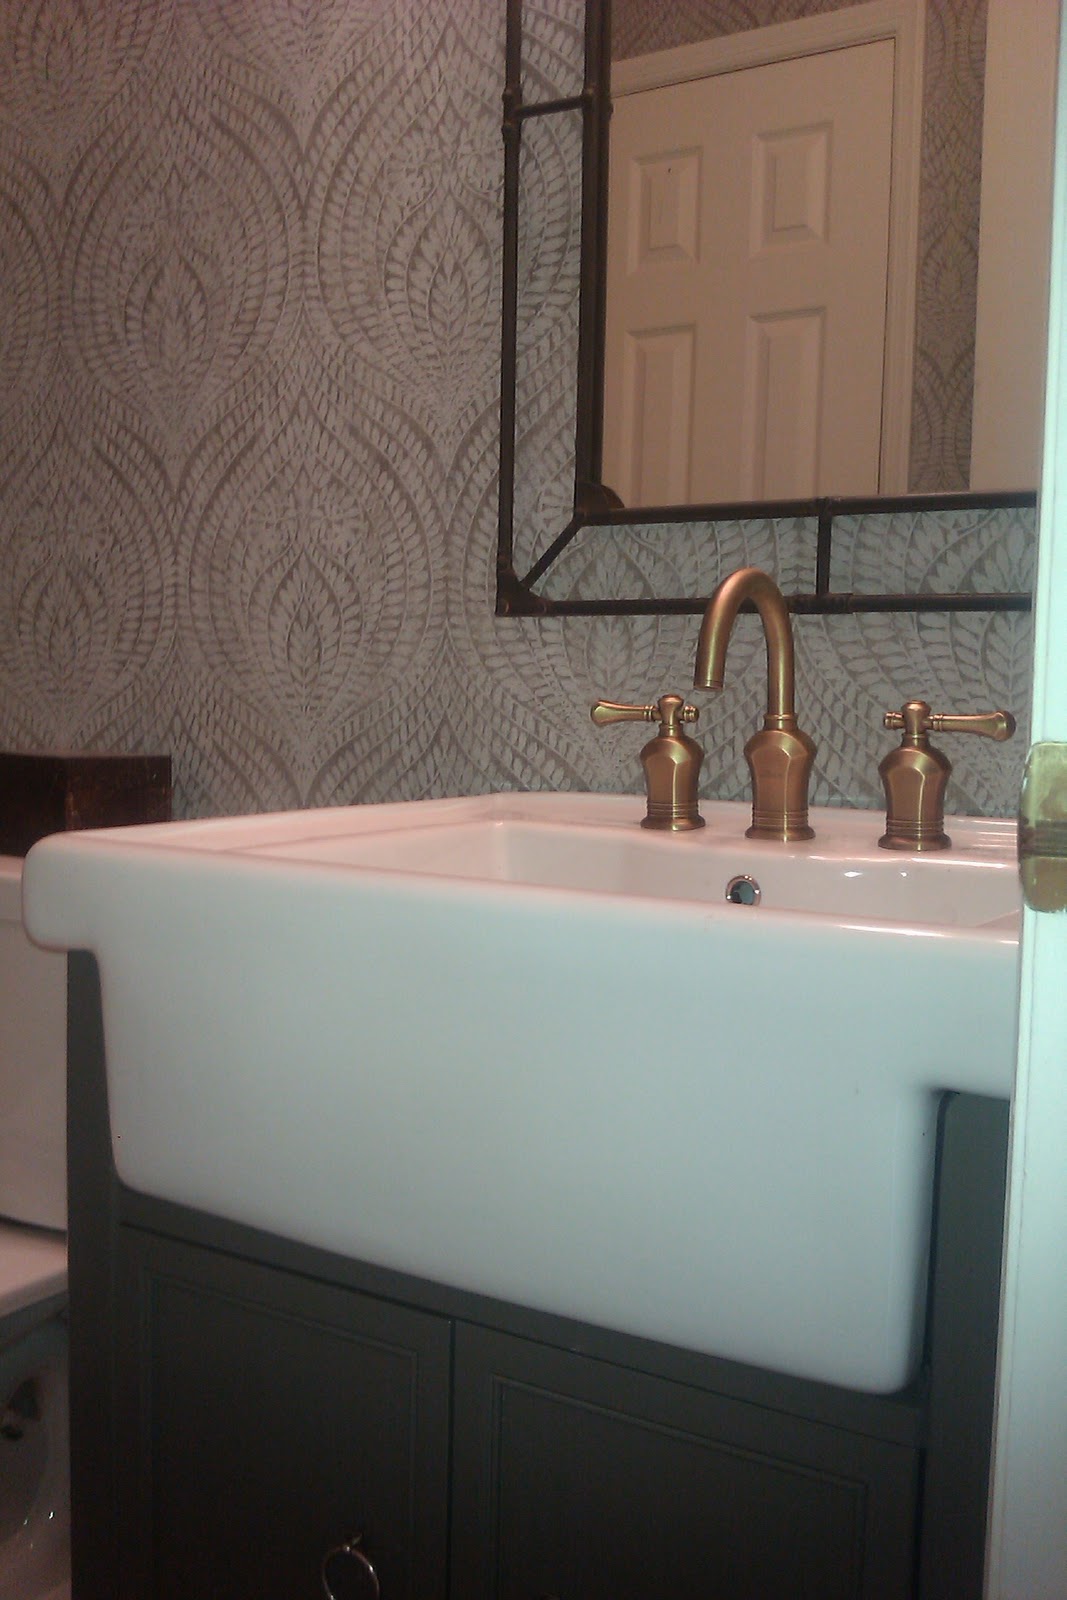
Work In Progress- Client Powder Room

This is a quick before and after of an install we did this week.  More to come- like pictures not taken on my phone- and more of the house which is coming along so well.... 
I will try to get better pictures of both, but I will say the faux marble sink left something to be desired.....I can't wait for "real" pictures because this space is so pretty....


  • Digg
  • Del.icio.us
  • StumbleUpon
  • Reddit
  • RSS
Post Icon

Bathing Beauty

I saw this backsplash/wall while flipping through the latest Pottery Barn catalog and I loved it so my first thought was I need to use that for a client at some point (although I would use something different on the floor probably)...Then while cleaning up my pictures some I realized that I had been looking at tile like that for a client recently...and now I hope we use it even more.

Oh how I love working on bathrooms and kitchens, especially when beautiful tile is involved.

  • Digg
  • Del.icio.us
  • StumbleUpon
  • Reddit
  • RSS
Post Icon

bathroom inspiration


I seemed to have made a rash promise to the children to  redo their  bathroom  -  a foolish act born of good intentions and an unrealistic appreciation of time available  ......

Maybe I can gain time if I give them plenty to think about, to mull over and debate!   How do you think they'd receive these ideas?


I'm fascinated by how much 'stuff' has been fitted into this room, there is a shower, a wash basin, a bath and a fireplace all in a fairly small room.  The trick has been to position the bath in the centre of the space.   I may consider this sort of option  ...


This one ..... no you're right, not even in my wildest dreams would teenage kids want this


I'm liking the clean lines of this room and the empty spaces that feel calming ..


yellow walls, a monogrammed shower curtain, no ... right again,  I'm not even going there ..


And this one, well I don't think it's going to get them excited, but this is actually the 
option I prefer because it reminds me of some of my favourite houses.  
Calm, low key, nothing showy but spacious and soothing.


Most likely they like none of the above, but then we'll have to go back to the
drawing board and I'll be off the hook until September !  Calculating? moi?  nooooo!

What style would you propose to a bunch of teenagers? 
  Any suggestions welcome!


All pictures with grateful thanks to Mires Paris


  • Digg
  • Del.icio.us
  • StumbleUpon
  • Reddit
  • RSS
Post Icon

One Day...

"One day I will have a house with Ann Sacks tile" has appeared on this blog before. I would like to add to that wish. Soooo.... One day I will have a house with a master bath that includes Michael S. Smith for Ann Sacks tile. Has a certain ring doesn't it?


  • Digg
  • Del.icio.us
  • StumbleUpon
  • Reddit
  • RSS
Post Icon

Horizontal Inspiration

Horizontal planks, love. Large horizontal tiles...in gray? Double love.


  • Digg
  • Del.icio.us
  • StumbleUpon
  • Reddit
  • RSS
Post Icon

Bathroom Sneak Peek

One these days, hopefully in 2011 since it was my January 2011 goal and we are almost in May, I am going to get my work photographed professionally. Until then I will continue to share little tidbits with you like this bathroom...It mainly services two little boys but there is something in there for everyone. I can't wait to show you the details.....you know, one of these days.

  • Digg
  • Del.icio.us
  • StumbleUpon
  • Reddit
  • RSS
Post Icon

Because One Day I Will Have A Fabulous Bathroom...

One day...Images House to Home

  • Digg
  • Del.icio.us
  • StumbleUpon
  • Reddit
  • RSS
Post Icon

Bathroom Facelift Phase 2: Mirror & Light!

My bathroom facelift project is creeping along at a snail's pace...sorry about that! If you missed Phase 1, you can find it here.

Phase 2 consisted of building a frame for the mirror, and replacing the ugly (and crooked) racetrack light fixture!

There was absolutely nothing wrong with our builder-grade bathroom mirror. Not much that can be wrong with a big flat mirror glued to the wall--unless you count the "glued to the wall" part, which I do. I "googled" how-to-remove-a-mirror-glued-to-the-wall, and it really didn't look like a DIY-type project, unless I was interested in 1,294 years of bad luck! (I'm not!)

So the alternative was to embrace the glue concept, and build a frame which I could GLUE to the mirror! Oh boy!

I purchased two different pieces of molding to construct my mirror frame. The first piece was a plain rectangular board, and the second was a chair rail. Placed together, they made a nice wide frame.

I cut all the pieces to size, then used Liquid Nails to adhere the molding to the mirror. I used my thirteen-year-old daughter...and some Frog Tape...to hold the molding in place while the glue dried.


My cutting isn't perfect by any stretch of the imagination, and the boards aren't perfectly flat. So there are gaps to be filled, and I used a caulk on the little cracks, and wood filler on the big ones.

Looking better...


Next I replaced the "racetrack" style light fixture. I never noticed it was installed crooked until I painted the stripes! I didn't want to spend a ton of money on a new fixture; I found one that was nice enough for around $50.

Changing out a light fixture is really pretty easy. Just make sure you turn the power off FIRST!


Here's what the light box looked like after I removed the old fixture. There are three wires: white, black, and ground (usually copper colored).

These match up with the three wires on the new fixture.


Match up your wires and twist the ends together. Then you screw on the handy-dandy little plastic wire nuts.

Your new fixture will come with a mounting plate that screws on to your light box; there are usually no new holes to drill. Bolt your fixture to the mounting plate, and you're done!

See? New light! (I'm pretty sure it's the picture that is crooked, not the light.)


And here's the big picture...


I haven't yet replaced the towel or toilet paper holders because....well, I'm cheap. I haven't been in the mood to spend $30 (minimum) to replace something that is really still OK. Hopefully I'll either a.) win the lottery, or b.) find a great sale!

Nothing is on the walls yet, either. Still waiting to be inspired for that one.

And then there's the cabinet. To paint or not to paint? What do you think?


The DIY Show Off

Photobucket

topsy turvy tuesdays


  • Digg
  • Del.icio.us
  • StumbleUpon
  • Reddit
  • RSS
Related Posts Plugin for WordPress, Blogger...

visitors map