


This is a re-post of a tutorial for my Pottery Barn knock-off pillows that appeared on Craft Gossip in November.
****************************************
Pottery Barn has terrific pillows, no doubt about it. However, they also seem to be rather fond of their pillows, based on the price they put on them! For example, their Knit Stocking Lumbar Pillow cover is $49.
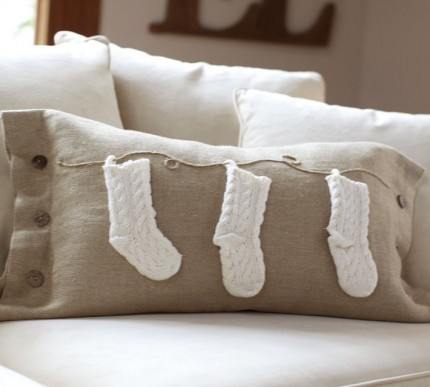
Yep, just the cover—pillow not included!
I actually visited the store (for the second time in my life) to get a closer look at this pillow. It’s SUPER cute, but really there isn’t anything too difficult about the construction or design.
So…I decided to make my own!
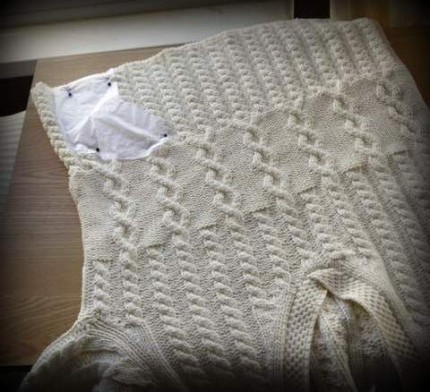
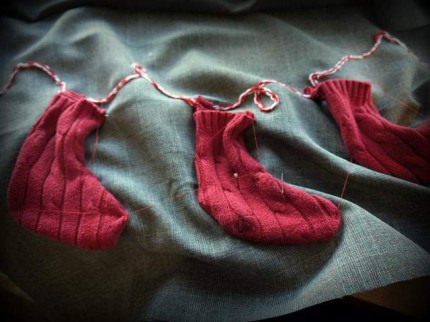
The little knit stockings are (obviously) what make the whole pillow. I visited a couple of local thrift stores and bought sweaters that had small-scale cable patterns.

And what else? Skirts! I could have gone to a fabric store and bought off-the-bolt fabric for the pillow slips. But I’m lazy; I was already AT the thrift store!
Pillow inserts came from IKEA. The FJDRAR inserts are 16” x 24” and cost a whopping $3 each.
I drew a stocking shape on a scrap of tissue paper for my pattern. I pinned my pattern so the bottom hem of the sweater would become the top of the stocking—less finishing work that way.
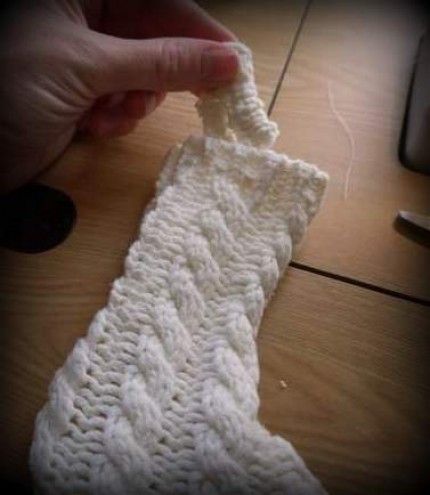
Pin the wrong sides of each stocking together, stitch around the edges (by hand or machine), and voila! Three little knit stockings.
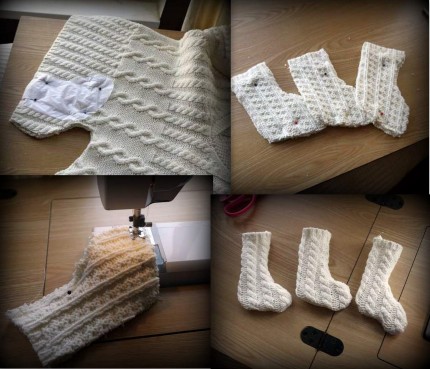
I used another scrap of sweater material to make the stocking hangers, but you could use a loop of ribbon or yarn or twine.
To make the pillow slips, you want to add 1” to the width of your pillow form (1/2” on each side for a seam allowance), but about 4” to the length, to allow for the hem and the buttons. Here’s a tip, though—if you’re using the IKEA pillow forms, they aren’t very “full,” so I actually didn’t add any extra for seam allowances—that allows me to stuff the pillows a little fuller.
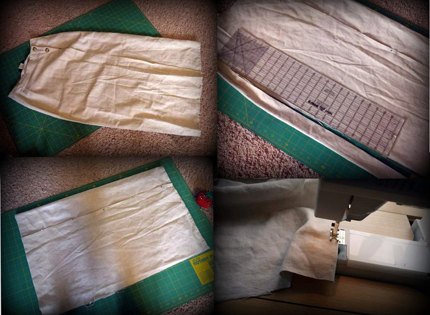
If you are using a skirt like I did, make sure to take advantage of the already-finished hem for one side of your pillow, and you can even use one of the side seams for your top seam. (Don’t forget that you don’t need that 1/2” seam allowance then. Don’t worry if you mess up; pillows are very forgiving.)
It’s easier to stich on your stockings and trim if you leave either the top or bottom seam unfinished. Lay everything out and be generous with your pins! I stitched the trim down first, and then I “tacked” the stockings in place by stitching back-and-forth-and-back-and-forth for about four stitches at about four places around the stocking (right near the edges). This could easily be done by hand as well. And the trim? Well, I gave strong consideration to using hot glue!!
Isn’t it amazing how the colors changed mid-project?? Must be Christmas Magic!
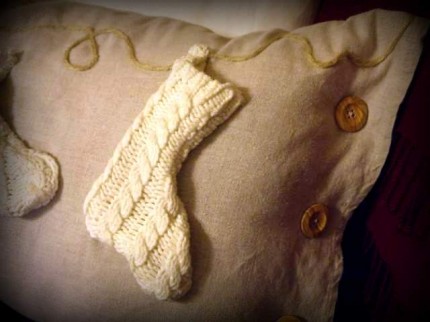
The last step in completing your pillow is to add the buttons on each side. If you want to be able to re-use the pillow insert, you can use real buttonholes, or you can just stitch the buttons on through both layers of the pillow cover! And what you choose to do may depend on what kind of day you’re having… (guess what I did??)
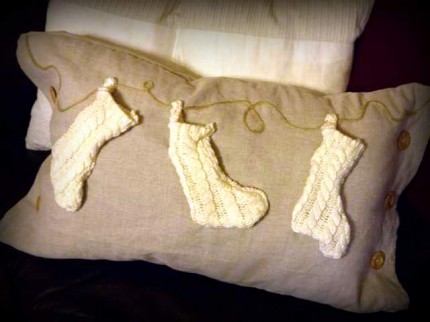
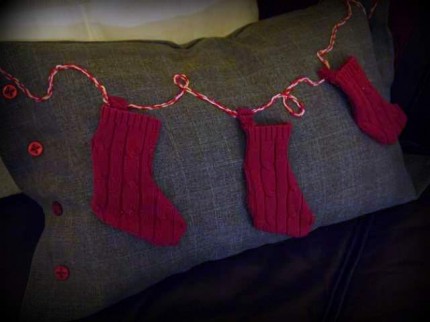
Ta-da! Here’s my Pottery-Barn knock-off.
But why stop there? There are a whole lot more options when you’re making them up as you go along! I loved this combination of red with a subtle gray plaid (from another skirt)…
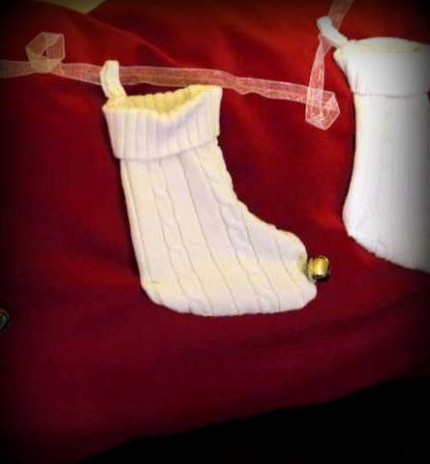
…or you can make it even easier by using a pre-made pillow cover (this red velvet one was $7 from IKEA) and just dress it up with the stockings! (See the candy cane? these are functional, baby!)
And maybe you can add some jingle bells since this one didn’t get buttons!
I had fun making the three pillows, but quite honestly, the gray one doesn’t go anywhere in my house! But I thought maybe one of YOU might like it!
If so, simply leave a comment here! Tell me…what one gift would you most like to GIVE this year if you could? Let me know, and you’re entered to win. Giveaway will end Thursday, December 15. Please leave your e-mail if you don’t have one linked up!
*******************************************************
Linking up here:


0 comments:
Post a Comment